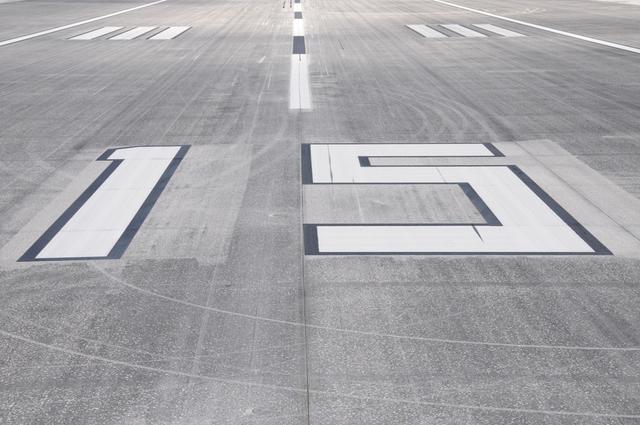
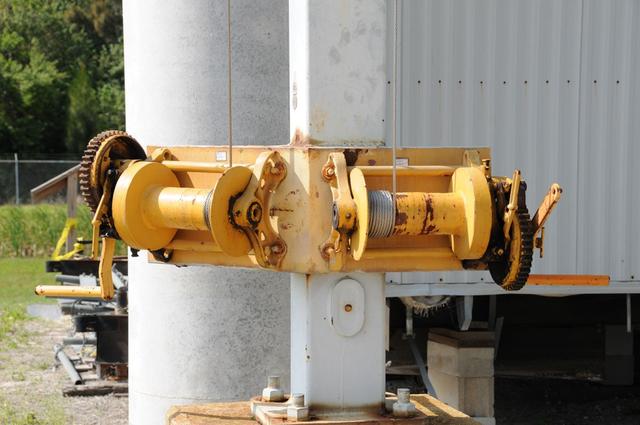
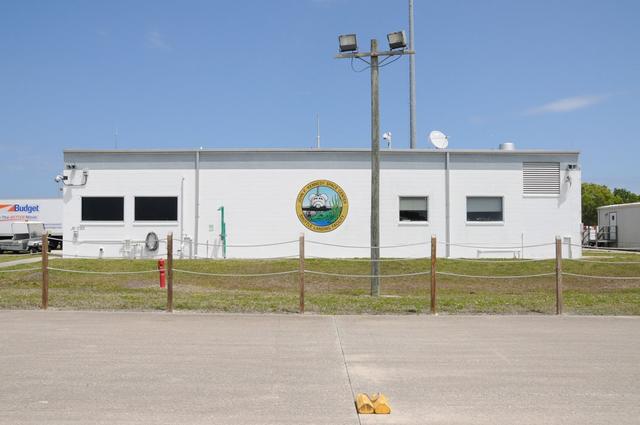
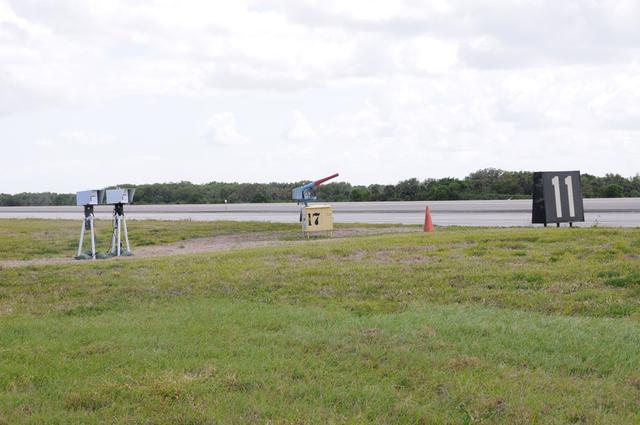
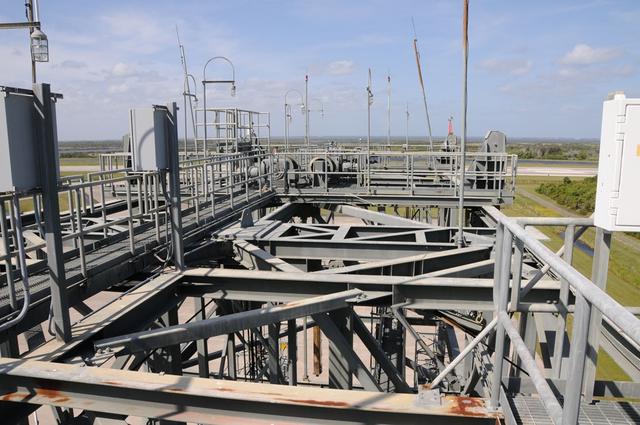
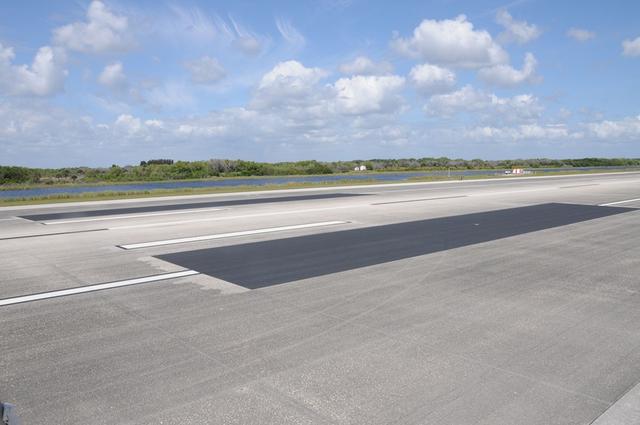
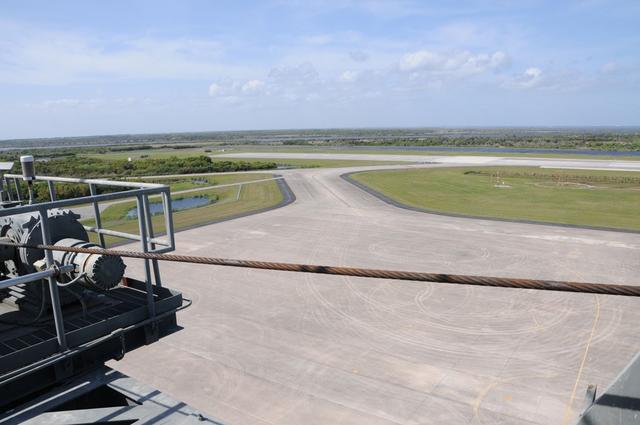
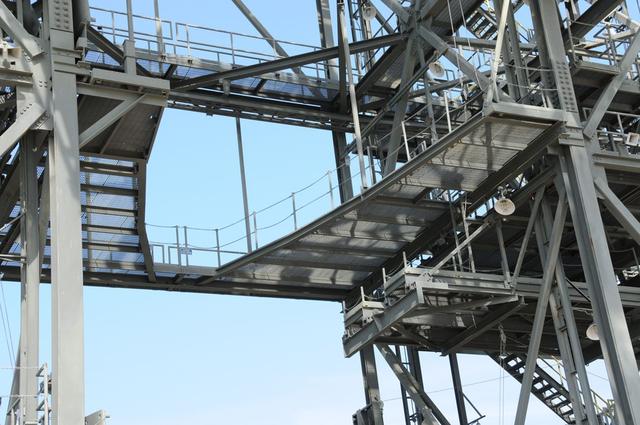
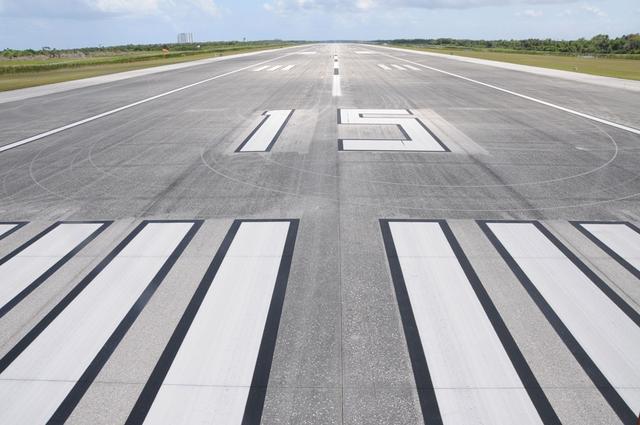
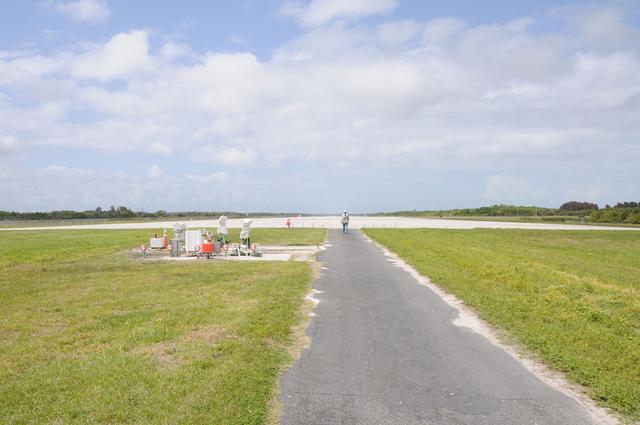
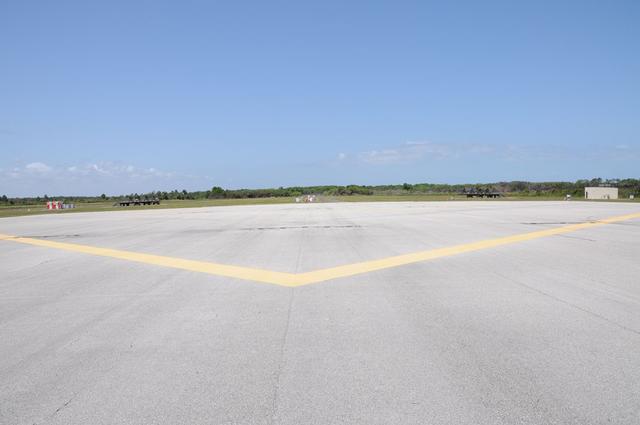
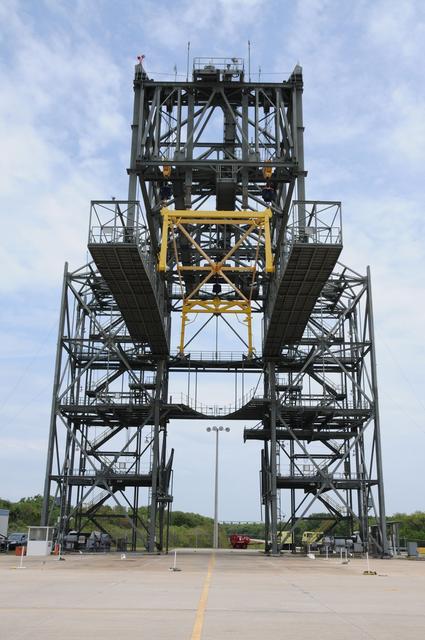
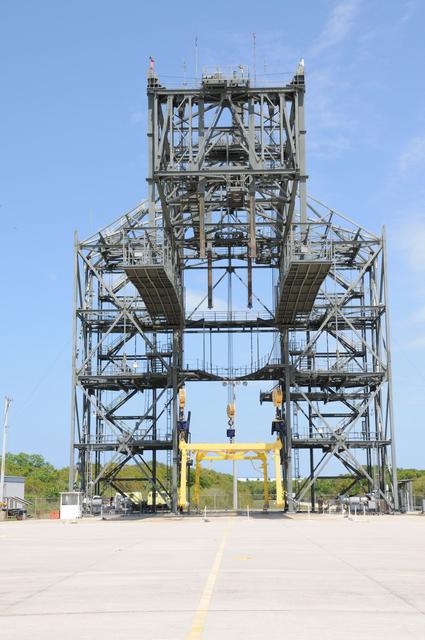
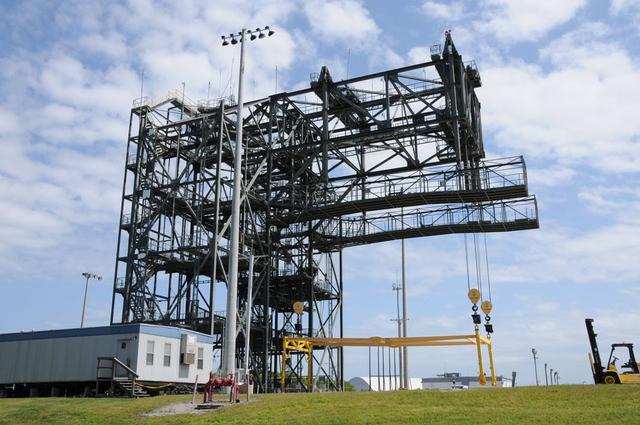
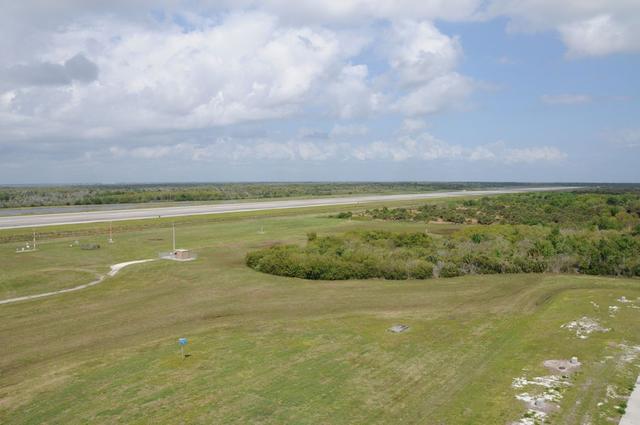
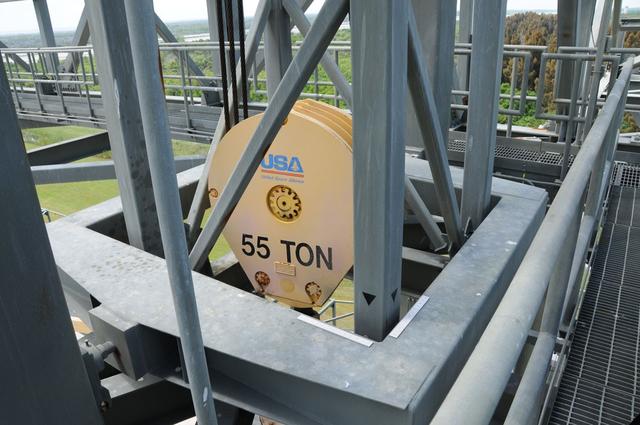
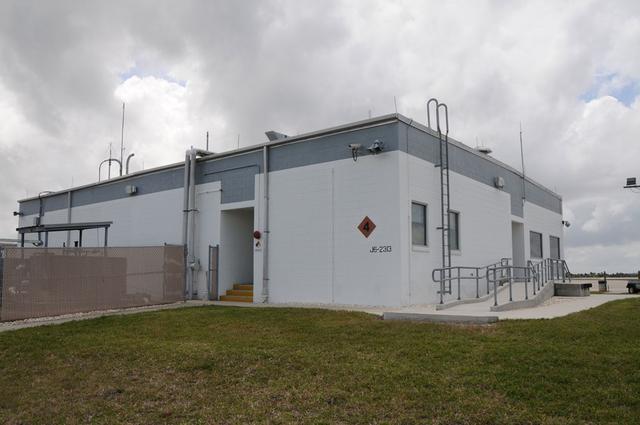
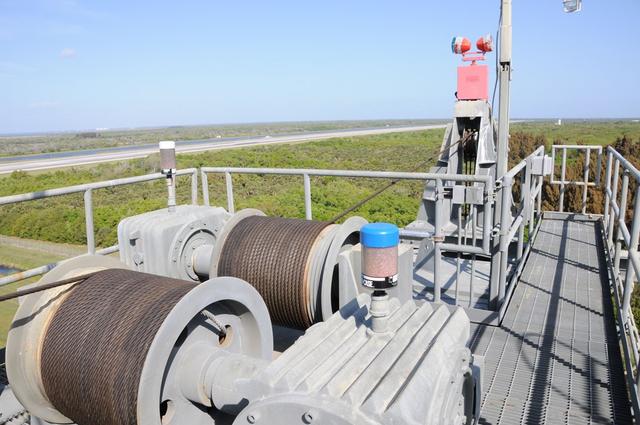
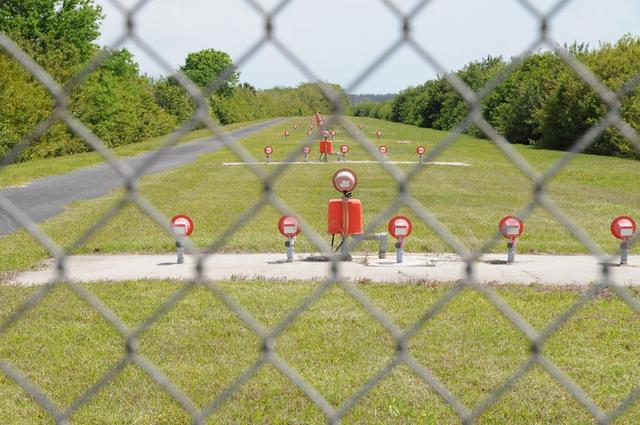
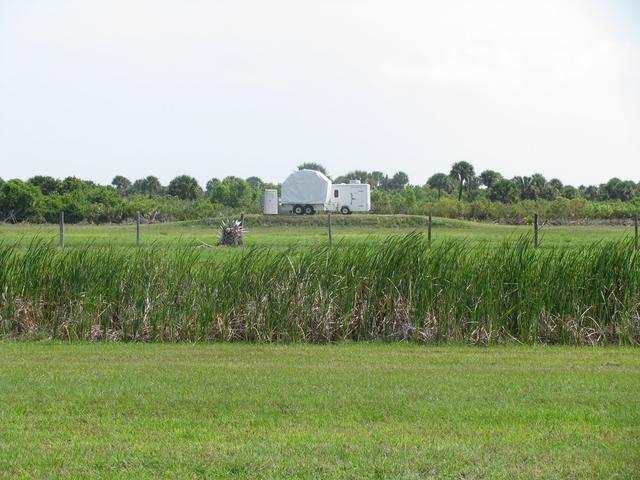
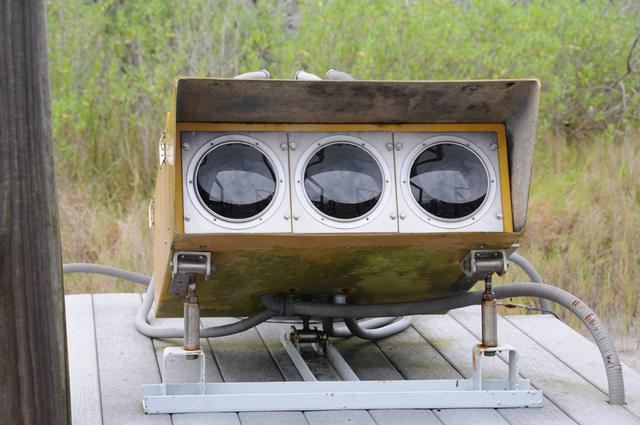
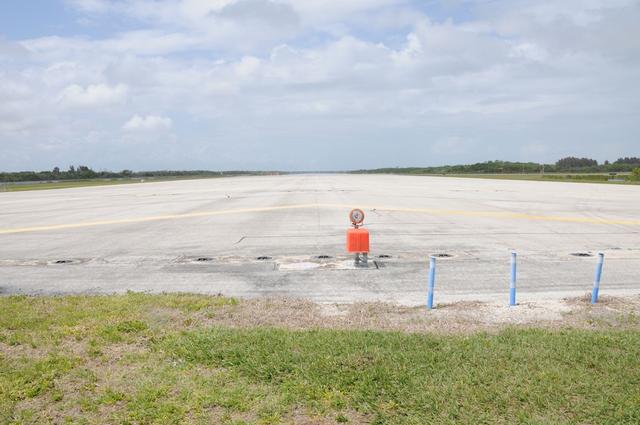
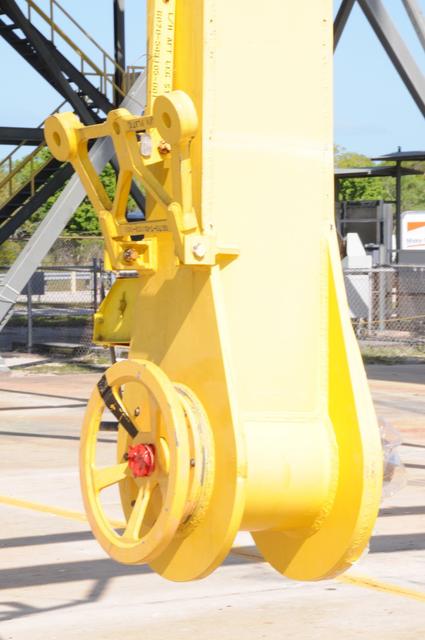
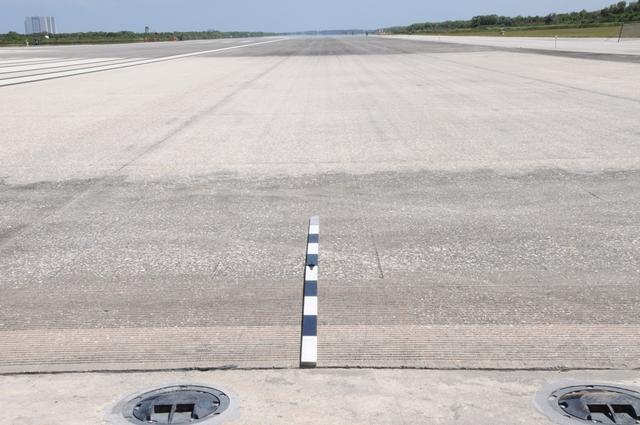
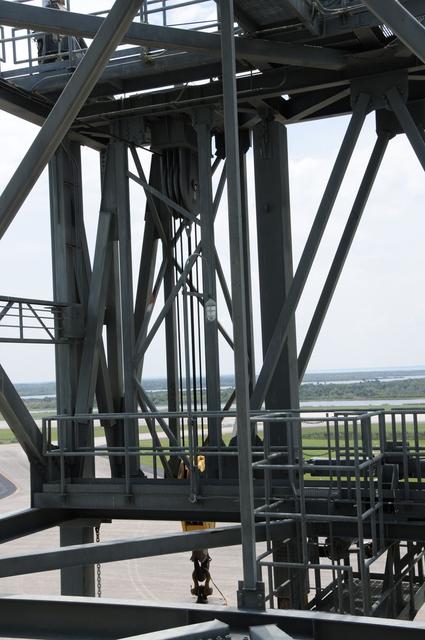
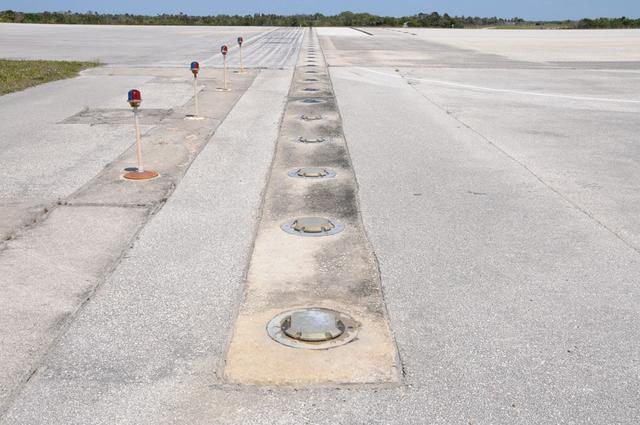
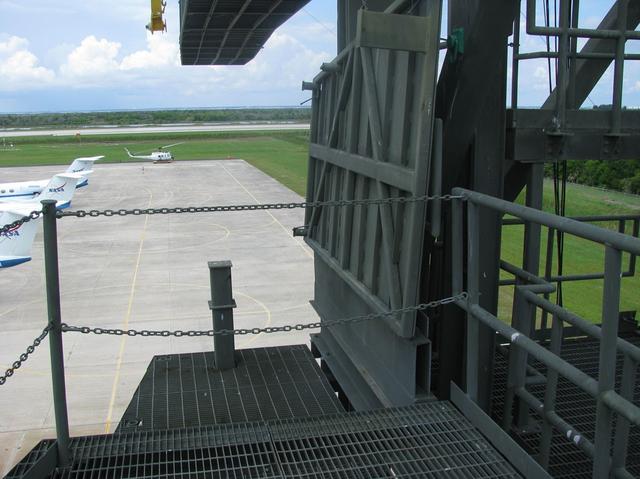
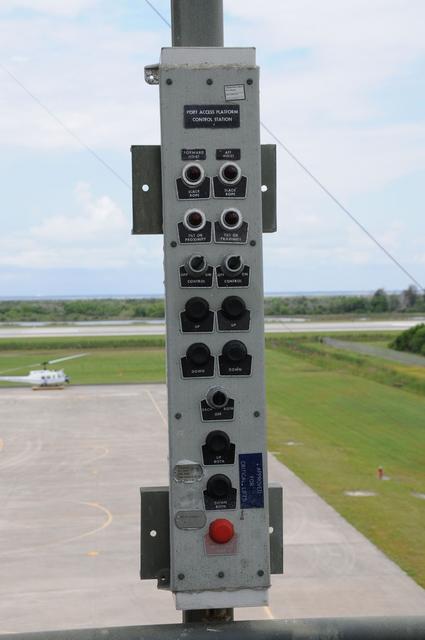
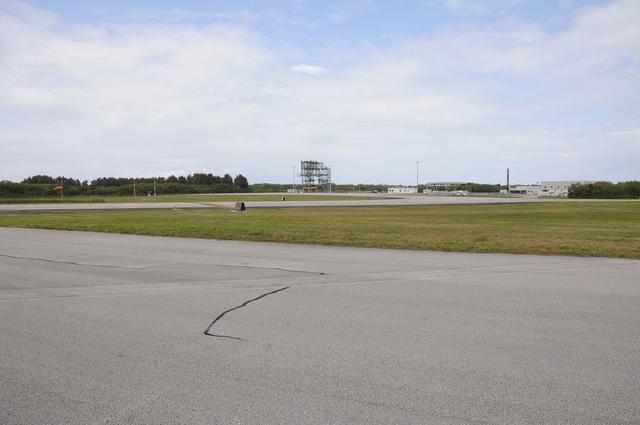
View of the Shuttle Landing Facility
SLF30
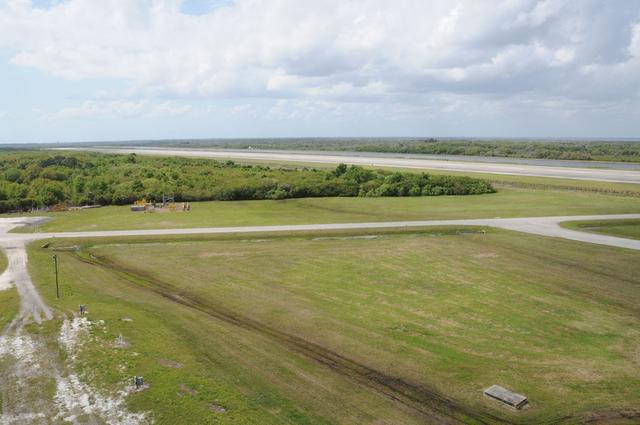
View of the Shuttle Landing Facility
SLF13
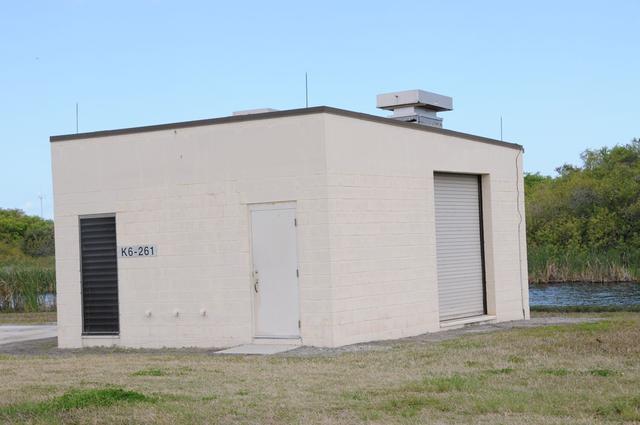
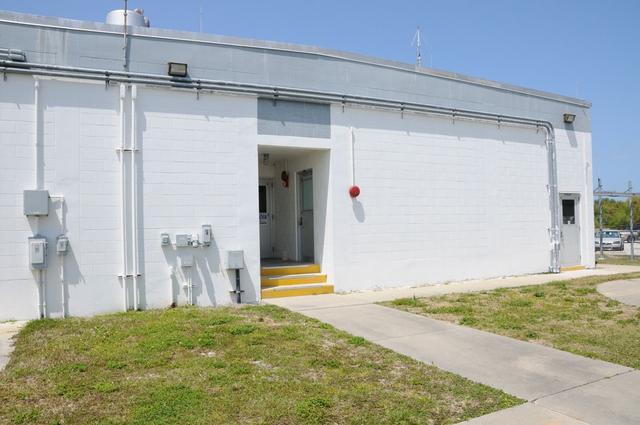
View of the Landing Aids Control Building
SLF54
View of the Shuttle Landing Facility
SLF31
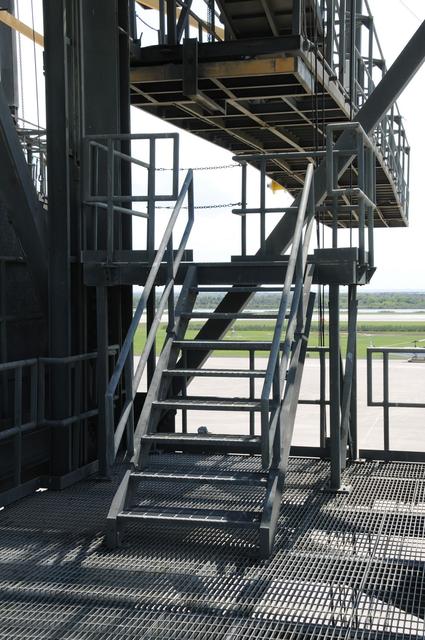
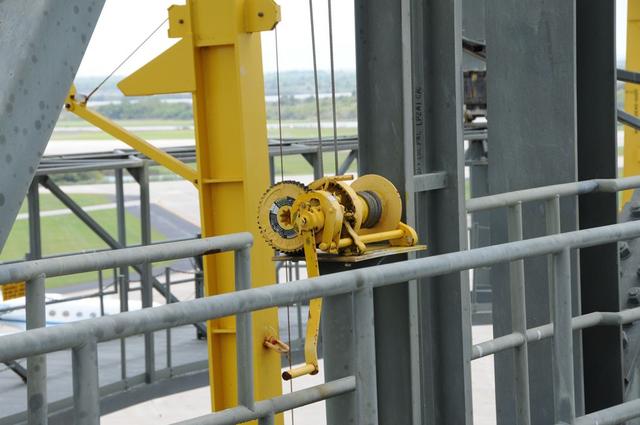
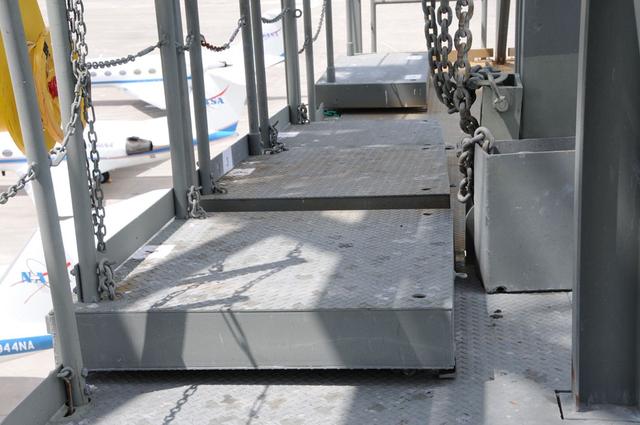
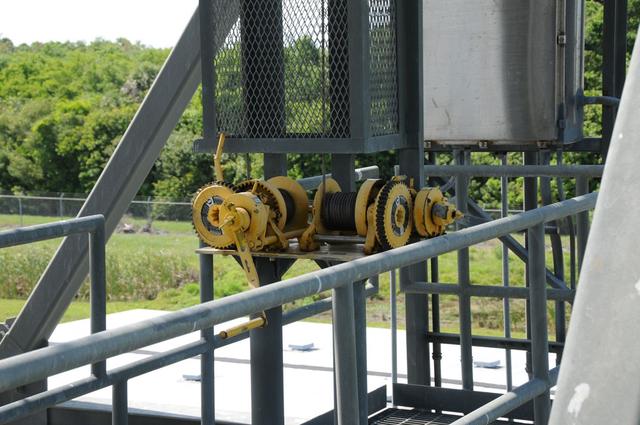
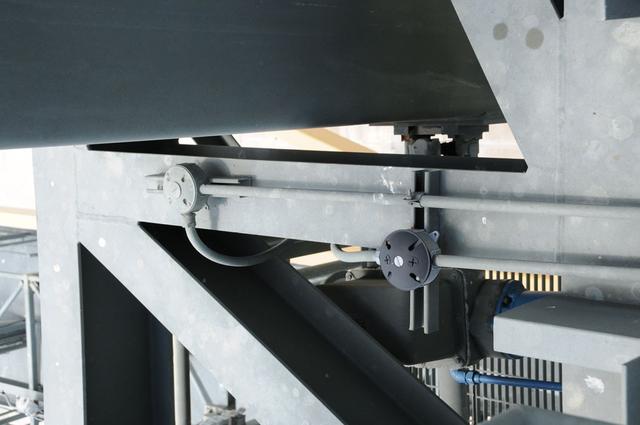
View of SLF structure
SLF71
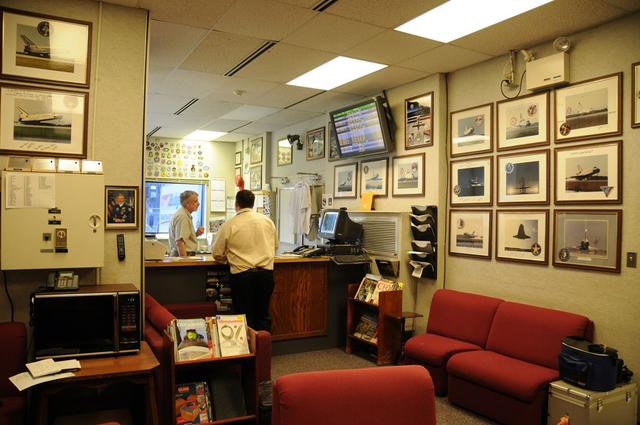
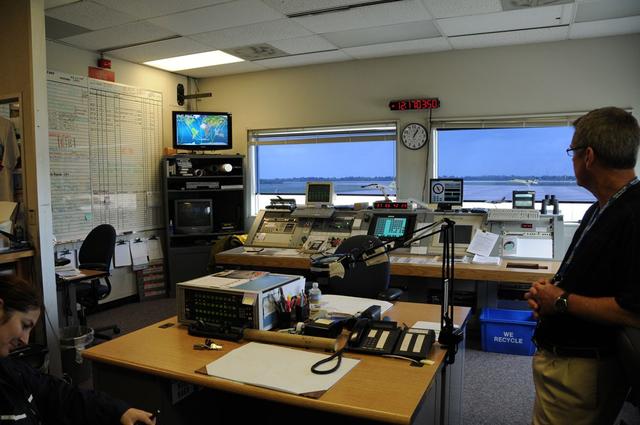
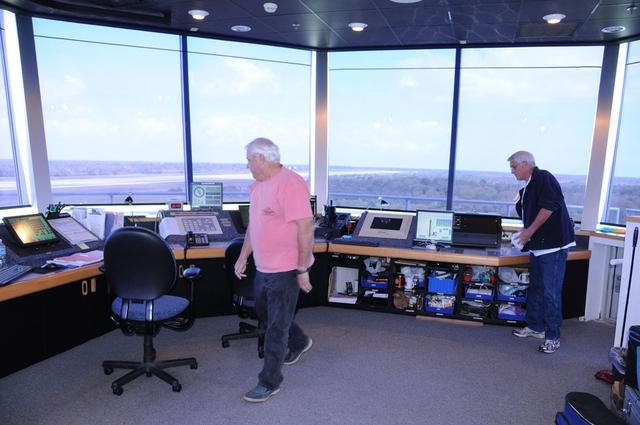
Interior view of the Landing Aids Control Building
SLF53
View of the Shuttle Landing Facility
SLF16
View of the Shuttle Landing Facility
SLF61
View of the Shuttle Landing Facility
SLF11
View of the Shuttle Landing Facility
SLF72
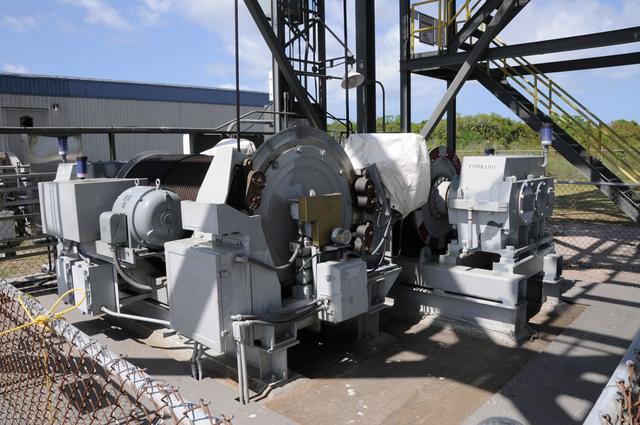
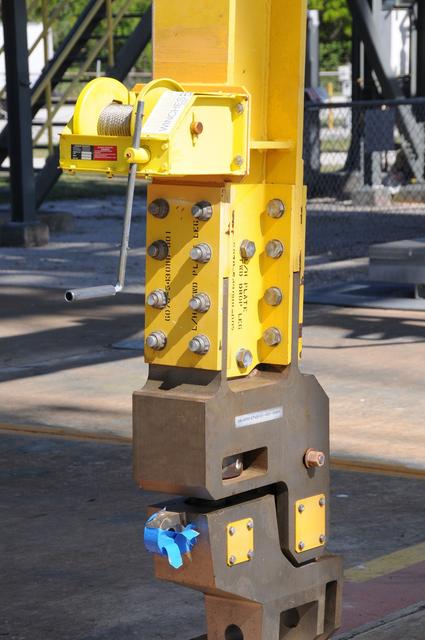
View of the Mate-Demate Device
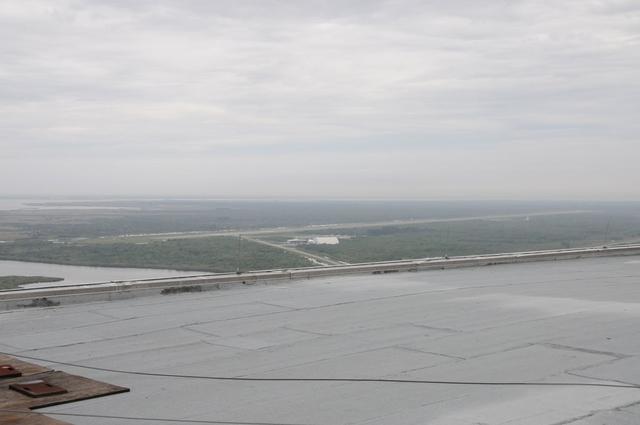
SLF50
View of SLF structure
SLF79
Interior view of the Landing Aids Control Building
SLF56
View of SLF structure
SLF70
View of the Shuttle Landing Facility
SLF7
View of the Shuttle Landing Facility
SLF34
View of the Shuttle Landing Facility
SLF35
View of the Shuttle Landing Facility
SLF15
View of the Shuttle Landing Facility
SLF1
View of the Shuttle Landing Facility
SLF80
View of the Shuttle Landing Facility
SLF12
View of the Shuttle Landing Facility
SLF27
View of the Shuttle Landing Facility
SLF29
View of the Shuttle Landing Facility
SLF86
View of the Shuttle Landing Facility
SLF76
View of the Shuttle Landing Facility
SLF25
View of the Mate-Demate Device
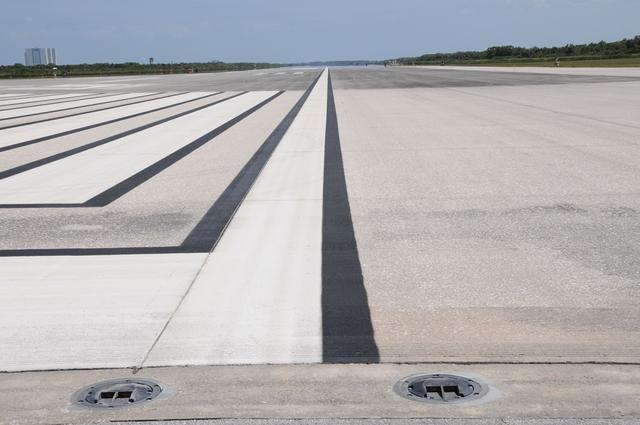
SLF48
View of the Mate-Demate Device
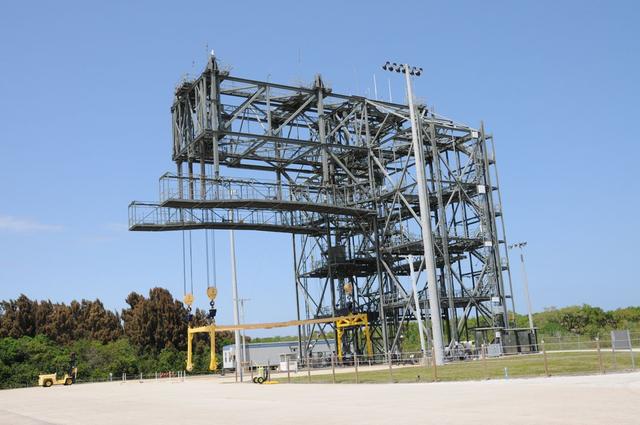
SLF47
View of the Shuttle Landing Facility
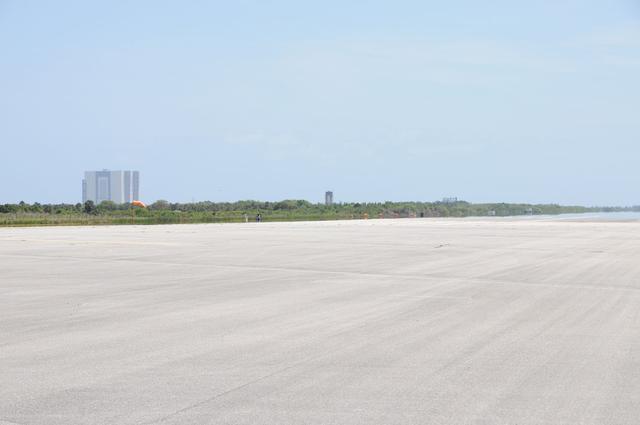
SLF59
View of the Shuttle Landing Facility
SLF22
View of the Landing Aids Control Building
SLF63
View of the Shuttle Landing Facility
SLF81
View of the Shuttle Landing Facility
SLF87
View of SLF structure
SLF67
View of the Shuttle Landing Facility
SLF8
View of the Shuttle Landing Facility
SLF85
View of the Shuttle Landing Facility
SLF38
View of the Shuttle Landing Facility
SLF73
View of the Shuttle Landing Facility
SLF75
View of the Shuttle Landing Facility
SLF23
View of the Shuttle Landing Facility
SLF74
View of SLF structure
SLF66
Interior view of the Landing Aids Control Building
SLF57
View of the Shuttle Landing Facility
SLF40
View of SLF structure
SLF77
View of the Landing Aids Control Building
SLF51
View of the Shuttle Landing Facility
SLF5
View of the Shuttle Landing Facility
SLF84